
Manual mode empowers photographers to override camera settings‚ fostering creative control and deeper engagement with the photographic process‚ unlike automatic options.
Choosing manual mode allows photographers to dictate aperture and shutter speed‚ bypassing the camera’s automated decisions for truly personalized image creation.
What is Manual Mode?
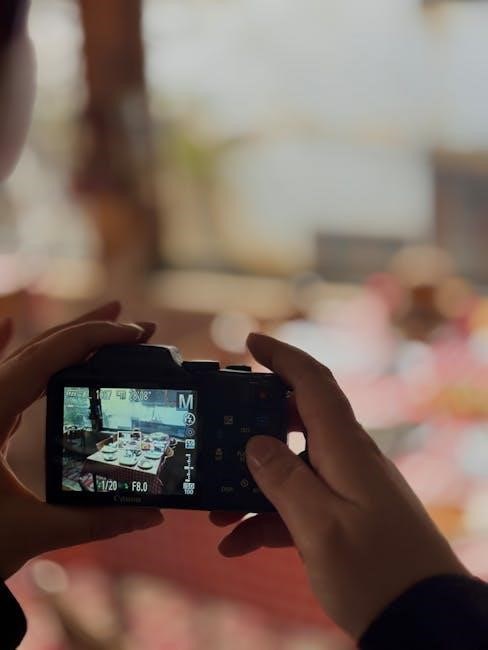
Manual mode‚ often denoted as “M” on your camera’s mode dial (PASM)‚ represents a complete departure from automated shooting. Instead of relying on the camera to analyze the scene and select settings like aperture‚ shutter speed‚ and ISO‚ manual mode places these controls directly into the hands of the photographer.
Essentially‚ it’s about taking full creative control. The camera no longer decides how your image will look; you do. This means adjusting each setting independently to achieve the desired exposure and artistic effect. It’s a fundamental shift from letting the camera make decisions for you to actively crafting the image yourself.
While seemingly daunting initially‚ manual mode isn’t about complexity‚ but about understanding the relationship between camera settings and their impact on the final photograph. It’s a pathway to truly mastering your camera and realizing your creative vision.
Why Choose Manual Mode?
Opting for manual mode unlocks a realm of creative possibilities unavailable in automatic settings. It allows photographers to make deliberate choices‚ not just about brightness‚ but about depth of field‚ motion blur‚ and overall image aesthetic. This control is crucial for achieving a specific artistic vision.
Furthermore‚ manual mode excels in challenging lighting situations where the camera’s metering system might be fooled. It provides the ability to accurately meter the scene and achieve proper exposure‚ even in tricky conditions. It’s about overcoming limitations and ensuring consistent results.
Ultimately‚ learning manual mode fosters a deeper understanding of photography’s core principles. It’s a journey towards becoming a more skilled and confident photographer‚ capable of consistently producing stunning images‚ regardless of the circumstances.
The Exposure Triangle
The exposure triangle – aperture‚ shutter speed‚ and ISO – are interconnected settings that determine an image’s brightness and creative qualities in manual mode.
Aperture: Controlling Depth of Field
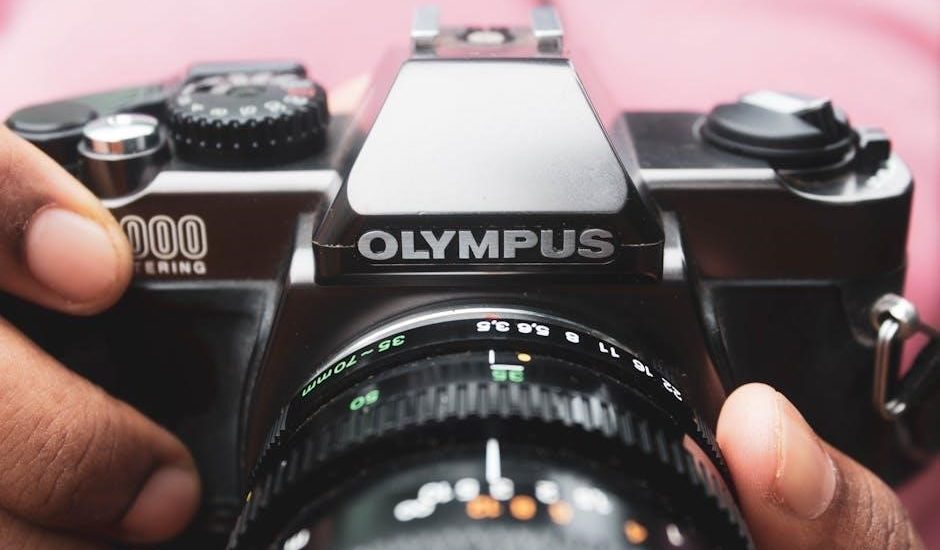
Aperture‚ expressed in f-stops (like f/2.8‚ f/8‚ or f/16)‚ controls the size of the lens opening‚ directly impacting both the amount of light reaching the sensor and the depth of field.
A wider aperture (smaller f-number‚ e.g.‚ f/2.8) creates a shallow depth of field‚ blurring the background and isolating the subject – ideal for portraits. Conversely‚ a narrower aperture (larger f-number‚ e.g.‚ f/16) yields a greater depth of field‚ keeping more of the scene in focus‚ suitable for landscapes.
Understanding aperture is crucial in manual mode because it’s one of the three pillars of exposure. Adjusting the aperture requires balancing it with shutter speed and ISO to achieve a properly exposed image. Mastering this balance unlocks significant creative control‚ allowing photographers to intentionally manipulate focus and visual storytelling.
Shutter Speed: Capturing Motion
Shutter speed‚ measured in seconds or fractions of a second (e.g.‚ 1/1000s‚ 1/60s‚ 1s)‚ determines how long the camera’s sensor is exposed to light. It’s a fundamental element in controlling how motion is rendered in your photographs.
Fast shutter speeds (e.g.‚ 1/1000s) freeze motion‚ perfect for capturing fast-moving subjects like sports or wildlife. Slower shutter speeds (e.g.‚ 1/30s or longer) blur motion‚ conveying a sense of movement or creating light trails. Utilizing slower speeds often necessitates a tripod to prevent camera shake.
In manual mode‚ shutter speed is a key component of the exposure triangle. Balancing it with aperture and ISO is essential for achieving a well-exposed image. Experimenting with shutter speed allows photographers to creatively express motion and add dynamic energy to their photographs.
ISO: Sensitivity to Light
ISO represents your camera sensor’s sensitivity to light. Lower ISO values (like 100) mean the sensor is less sensitive‚ requiring more light for a proper exposure and resulting in cleaner images with minimal noise. Higher ISO values (like 3200 or 6400) increase sensitivity‚ allowing you to shoot in darker conditions.
However‚ increasing ISO introduces digital noise – a grainy appearance that degrades image quality. While modern cameras handle high ISOs better‚ it’s a trade-off. In manual mode‚ ISO is crucial for balancing exposure when aperture and shutter speed are limited by lighting conditions.
Understanding the relationship between ISO‚ aperture‚ and shutter speed is vital. Prioritize the lowest possible ISO to maintain image quality‚ increasing it only when necessary to achieve a correct exposure.
Understanding Camera Settings
Manual mode requires navigating your camera’s settings‚ primarily the PASM dial‚ and understanding metering modes to accurately assess and control exposure.
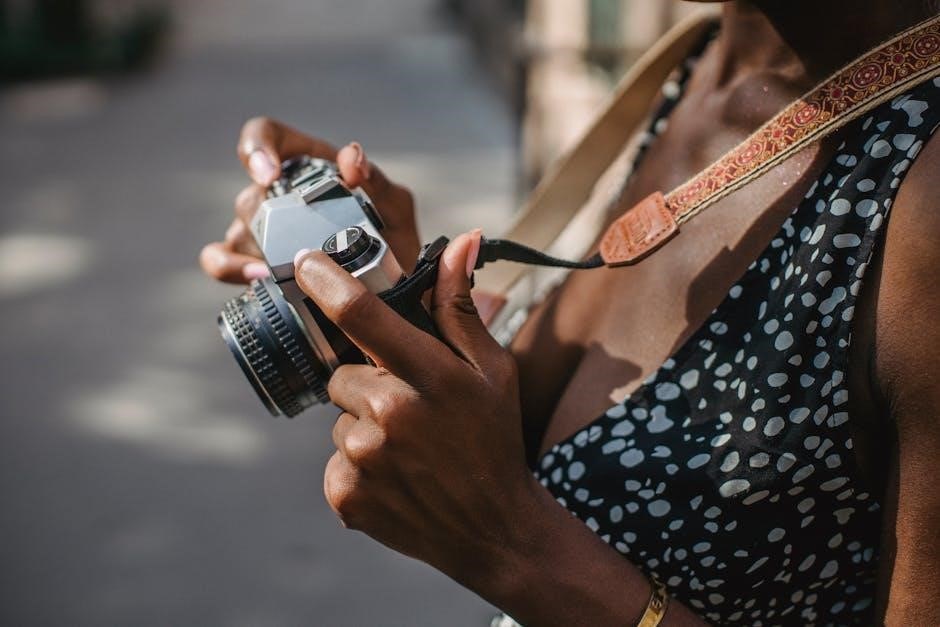
Locating the Manual Mode Dial (PASM)
Most cameras feature a dial prominently positioned on their top surface‚ often labeled with “PASM.” This dial represents the primary shooting modes available: Program‚ Aperture Priority‚ Shutter Priority‚ and Manual. To engage manual control‚ simply rotate this dial until it aligns with the letter “M.”
This action immediately shifts the camera’s operational control from automated systems to the photographer’s direct input. Once in manual mode‚ you gain complete authority over both aperture and shutter speed‚ allowing for precise adjustments tailored to your creative vision and the specific lighting conditions.
The PASM dial is your gateway to unlocking the full potential of your camera‚ moving beyond pre-programmed settings and embracing a more hands-on‚ artistic approach to photography. It’s a fundamental step in mastering manual mode and achieving consistently stunning results.

Metering Modes and How They Work
While shooting in manual mode‚ understanding metering modes is crucial for achieving proper exposure. Your camera’s metering system analyzes the scene’s brightness to suggest aperture and shutter speed settings. However‚ it doesn’t make those settings for you in manual mode – it merely provides guidance.
Common metering modes include Evaluative/Matrix (assessing the entire scene)‚ Center-weighted (emphasizing the center)‚ and Spot (measuring a very small area). Each mode interprets light differently‚ impacting the suggested exposure. For example‚ a bright background might trick Evaluative metering into underexposing the subject.
Learning to interpret the meter reading and adjust settings accordingly‚ rather than blindly following its suggestion‚ is key to mastering manual mode. It’s about understanding how the camera ‘sees’ the light and compensating for its limitations to achieve your desired result.
Practical Application of Manual Mode
Applying manual mode involves balancing settings for specific scenarios‚ like low light or fast action‚ demanding precise control over aperture‚ shutter speed‚ and ISO.
Shooting in Low Light Conditions
Successfully navigating low-light photography with manual mode requires a strategic approach to the exposure triangle. Increasing ISO sensitivity allows for shooting with faster shutter speeds or narrower apertures‚ crucial when ambient light is limited. However‚ be mindful of the trade-off: higher ISO values introduce noise‚ potentially diminishing image quality.
Prioritize a wider aperture (lower f-number) to maximize light intake‚ though this reduces depth of field. Carefully select a shutter speed slow enough to gather sufficient light‚ but fast enough to avoid motion blur – a tripod becomes invaluable in these situations. Manual mode grants the photographer the ability to balance these elements‚ achieving a properly exposed image even in challenging conditions‚ while retaining creative control over the final aesthetic. Remember‚ understanding your camera’s noise performance at various ISO levels is key to minimizing unwanted graininess.
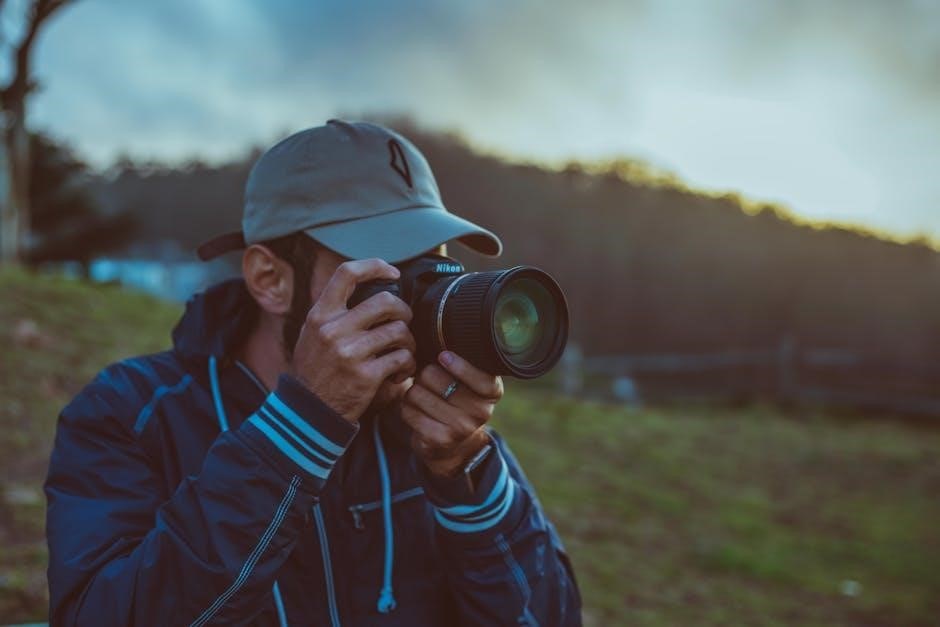
Photographing Fast-Moving Subjects
Capturing sharp images of fast-moving subjects demands a swift shutter speed in manual mode. Prioritize shutter speed over aperture and ISO initially‚ selecting a value fast enough to “freeze” the action and eliminate motion blur – typically 1/500s or faster‚ depending on the subject’s speed. This often necessitates increasing ISO to maintain adequate exposure‚ accepting a potential trade-off in image noise.
Aperture can then be adjusted to control depth of field‚ balancing sharpness throughout the scene. Pre-focusing on the anticipated location of the subject is crucial‚ as autofocus may struggle to keep pace. Manual mode allows for consistent exposure settings across a burst of shots‚ preventing unwanted fluctuations. Mastering this technique requires practice‚ but the control it offers is invaluable for sports‚ wildlife‚ and action photography‚ ensuring consistently sharp and dynamic results.
Achieving Proper Exposure Balance
Proper exposure isn’t merely about brightness; it’s about harmonizing aperture‚ shutter speed‚ and ISO. In manual mode‚ this requires understanding their interplay. Begin by assessing the scene’s lighting conditions and setting a base ISO – ideally the lowest possible to minimize noise. Then‚ adjust aperture to control depth of field‚ influencing how much of the image is in focus. Finally‚ manipulate shutter speed to regulate the duration of light exposure‚ impacting motion blur.
Utilize your camera’s light meter as a guide‚ aiming for a reading of ‘0’ for a balanced exposure. However‚ don’t blindly trust the meter; learn to interpret the scene and make adjustments based on your creative vision. Regularly review your images on the LCD screen‚ checking for blown highlights or crushed shadows‚ and refine your settings accordingly. Achieving balance is a continuous process of observation and adjustment.
Creative Control in Manual Mode
Manual mode unlocks artistic possibilities through intentional over or underexposure‚ allowing photographers to craft unique moods and effects beyond automatic settings.
Intentional Overexposure and Underexposure
Intentional overexposure‚ achieved by increasing aperture or shutter speed‚ brightens the image‚ washing out details in highlights and creating a dreamy‚ ethereal aesthetic. This technique is particularly effective for capturing high-key portraits or scenes with a minimalist feel‚ emphasizing light and airiness.
Conversely‚ intentional underexposure‚ accomplished by decreasing aperture or shutter speed‚ darkens the image‚ preserving details in shadows while potentially losing information in highlights. This approach is useful for creating moody‚ dramatic photographs‚ emphasizing texture and form‚ or achieving a noir-like effect.
Mastering these techniques in manual mode grants photographers complete control over the tonal range of their images‚ allowing them to express their artistic vision and evoke specific emotions. It’s about moving beyond simply capturing a “correctly” exposed image and instead‚ deliberately manipulating exposure to achieve a desired artistic outcome.
Using Manual Mode for Specific Effects
Manual mode unlocks creative possibilities beyond basic photography. For example‚ long exposures‚ achieved with a slow shutter speed‚ can blur motion‚ creating light trails or smoothing water surfaces – impossible to consistently achieve in automatic modes. Conversely‚ fast shutter speeds freeze action‚ capturing fleeting moments with incredible clarity.
Depth of field control‚ via aperture adjustments‚ allows selective focus‚ isolating subjects against blurred backgrounds‚ ideal for portraits. Wide apertures (low f-number) create shallow depth of field‚ while narrow apertures (high f-number) maximize sharpness throughout the scene.
Furthermore‚ manual mode facilitates experimentation with ISO to balance sensitivity and noise. Understanding these relationships empowers photographers to intentionally craft images with specific artistic effects‚ moving beyond the limitations of automated settings and truly realizing their creative vision.
Troubleshooting Common Issues
Noise appears at high ISO settings‚ while blurry images often result from slow shutter speeds; understanding these trade-offs is crucial for manual mode success.
Dealing with Noise at High ISO
Increasing the ISO setting amplifies the camera’s sensitivity to light‚ enabling photography in dimly lit environments. However‚ a significant trade-off emerges: as ISO rises‚ image noise – appearing as graininess – becomes increasingly noticeable. This degradation in image quality stems from the amplification of both the signal and random electronic fluctuations within the sensor.
To mitigate noise when shooting at high ISOs in manual mode‚ consider several strategies. Firstly‚ strive to use the lowest possible ISO that still achieves a sufficiently bright exposure. Utilizing a wider aperture (lower f-number) or a slower shutter speed can often reduce the need for excessively high ISO values. Secondly‚ explore noise reduction features within your camera or post-processing software‚ but be mindful that aggressive noise reduction can sometimes soften image details.
Finally‚ understanding your camera’s sensor performance at various ISO levels is key. Experimentation will reveal the point at which noise becomes unacceptable for your specific needs and aesthetic preferences.
Correcting Blurry Images
Blurry images often result from insufficient light causing a slow shutter speed‚ or from incorrect focusing techniques. When shooting in manual mode‚ carefully balance shutter speed‚ aperture‚ and ISO to ensure adequate light reaches the sensor. A slower shutter speed increases the risk of motion blur‚ both from camera shake and subject movement.
To combat blur‚ prioritize a faster shutter speed. As a general rule‚ use a shutter speed at least equal to the reciprocal of your focal length (e.g.‚ 1/50th of a second for a 50mm lens). Employing a wider aperture (lower f-number) allows more light in‚ enabling faster shutter speeds. Precise focusing is also crucial; utilize your camera’s autofocus system or manual focus with careful attention to detail.
Remember that intentional motion blur can be a creative effect‚ but unintentional blur detracts from image quality. Practice and experimentation in manual mode will refine your ability to achieve sharp‚ focused results.